Arduino Basics for Beginners
Whether you are just discovering the world of electronics or aiming to bring your creative ideas to life, Arduino offers a hands-on introduction to microcontroller programming and circuit design. This guide is tailored for newcomers, explaining the essential concepts that will set you up for success with your first Arduino projects. Dive in to learn about the hardware, software, and foundational skills you’ll need to start making your own interactive electronics.
What is Arduino?
01
Arduino began as a project in Italy aimed at creating affordable microcontroller boards for students and artists. The name comes from a bar where the founders frequently met. By focusing on accessibility, Arduino made it possible for people without an engineering background to engage with technology. Because it’s open source, anyone can study, modify, and even build their own versions of Arduino boards, encouraging a global community that shares knowledge and ideas freely.
02
At its core, Arduino consists of both hardware and software. The hardware is typically a small rectangular circuit board with input and output pins, a microcontroller chip that acts as the brain, and a USB connector for programming. The Arduino software, known as the Arduino IDE (Integrated Development Environment), lets users write code to tell the board what to do. This combination enables both simple experiments and complex inventions, making technology approachable for complete novices.
03
Arduino stands out because it is affordable, flexible, and supported by a vast online community. For beginners, this means you’re never alone—there are tutorials, forums, and countless project ideas just a search away. Even more, Arduino boards are compatible with many sensors and components, so you can apply what you learn in many different directions, from robotics to environmental monitoring and beyond. This versatility is a big reason Arduino remains the top choice for learning electronics.
Getting Started: The Arduino Board
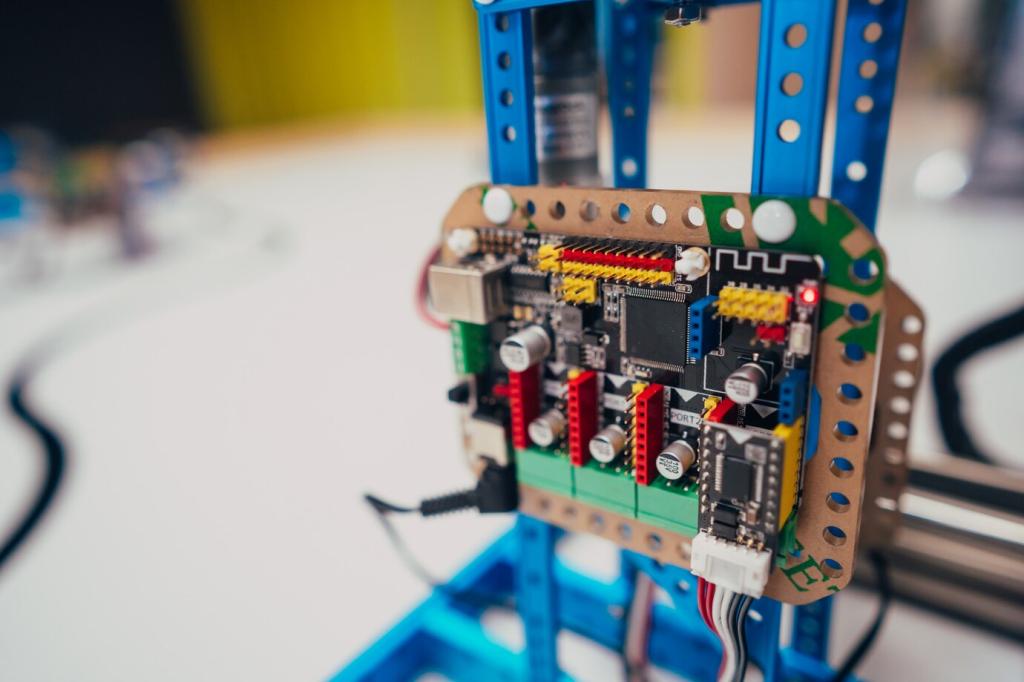
When you look at an Arduino board, you will notice a range of components: a central microcontroller (usually an ATmega chip), numerous digital and analog pins along the edges, and additional features like a power jack and LEDs. Each part serves a unique role. The pins, for example, allow you to connect LEDs, buttons, sensors, and more, while the microcontroller runs your program. Recognizing these features and knowing their purposes will make building circuits much less intimidating as you progress.

Understanding the Arduino IDE
Installing the Arduino IDE
Getting started with the Arduino IDE is a straightforward process. The software is available for Windows, Mac, and Linux. Download it from the official Arduino website and follow the on-screen instructions. Once installed, connect your board via USB, and the IDE should recognize it instantly. This initial setup is your first step towards writing sketches (the term for programs in Arduino) and experimenting with code.
Exploring the User Interface
When you open the Arduino IDE, you’ll notice it looks much simpler than many professional programming environments. There’s a code editor, a toolbar for common actions like compiling and uploading, and a console that displays messages. Familiarize yourself with the key buttons: Verify compiles your code for errors, Upload sends it to the board, and the Serial Monitor helps you communicate with your Arduino for debugging or reading sensor values. Mastering the interface builds your confidence as you move forward.
Writing and Uploading Your First Sketch
After setup, your first milestone is to write a simple program—often the classic “Blink” sketch, which makes an LED flash. You’ll see the structure of an Arduino sketch, which always includes setup and loop functions. Once you’ve written your code, a single button uploads it to the board. Watching your Arduino respond to your code for the first time is a magical experience that brings your learning to life.
Basic Electronic Components
Resistors, LEDs, and Buttons
Resistors limit the flow of electrical current, making them essential for protecting components like LEDs from burning out. LEDs (Light Emitting Diodes) are used in many projects to provide visual feedback, while buttons serve as input devices to let you interact with your Arduino. Learning how to wire and control these parts is crucial, as you’ll use them in countless beginner projects, from blinking lights to simple games.
Sensors: Reading the Physical World
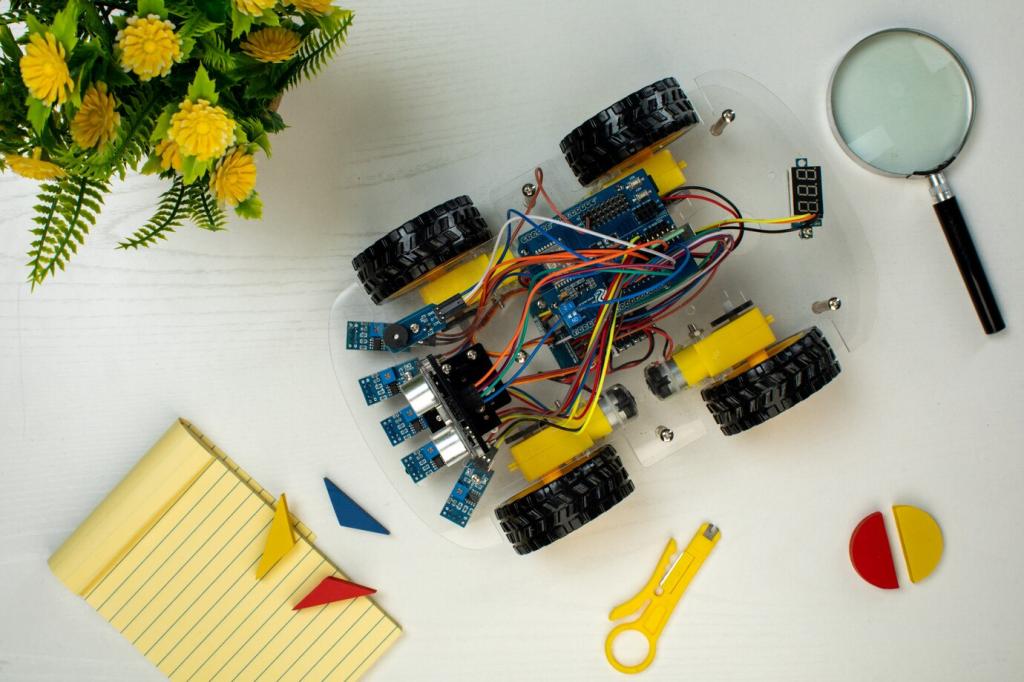
Sensors transform physical phenomena like light, temperature, or distance into electrical signals that the Arduino can process. Common examples include temperature sensors, photoresistors, and ultrasonic distance sensors. Using sensors elevates your projects, allowing your Arduino to react to its environment and making interactive systems possible. Experimenting with sensors is a fun way to see real-world inputs translated directly into code-based responses.
Actuators: Moving Beyond Signals
Actuators are components that perform actions in the physical world based on your Arduino’s instructions. These include devices like motors, servos, and simple buzzers. Once you’ve mastered basic inputs and outputs, actuators let you build projects that move, make noise, or otherwise physically interact with their surroundings. Understanding how to safely power and control actuators broadens the scope of what you can create with Arduino.
The Structure of an Arduino Sketch
Every Arduino program, called a sketch, follows a specific structure consisting of two main functions: setup and loop. The setup function runs once when your board powers on, initializing variables, setting pin modes, and preparing your project. The loop function runs over and over again, making your project responsive and interactive. Understanding this pattern is the first step to writing effective, bug-free code.

Variables and Simple Logic
Variables act as storage containers for information like sensor readings or counts of button presses. Combined with logical statements—such as if a condition is true, do something—they enable your Arduino to make decisions. By practicing with variables and conditional logic, you start to see how programs can respond to inputs and control outputs dynamically. This knowledge is essential for almost any Arduino project.
Uploading and Debugging
After writing your sketch, uploading sends your code to the Arduino board. Sometimes things don’t work as expected. The IDE includes features for debugging, such as the Serial Monitor, which lets you print values and messages from your program to track down errors. Getting comfortable with uploading and debugging empowers you to solve problems independently and deepen your understanding.
Connecting Your First Circuit
A breadboard is a plastic board with rows and columns of holes that make it easy to connect electronic components without soldering. Using a breadboard, you can quickly build and modify circuits, allowing for experimentation and learning through trial and error. Understanding how current flows through the breadboard’s rows and columns is helpful for setting up even the simplest circuits.
Project Ideas for Beginners
An excellent way to start is with projects that use LEDs and buzzers to create lights and sounds. They require minimal components and let you see immediate, satisfying results. Simple games or patterns can be made with just a few lines of code, teaching you about timing, sequencing, and user interaction in a fun, interactive way.