Build a Mini Traffic Light System
Discover how to build a mini traffic light system, an engaging project that combines electronics, programming, and design to simulate the operation of real-world traffic lights. This miniaturized system can be a perfect learning tool for students and hobbyists, offering a hands-on experience with circuits, logic, and automation. Whether you aim to understand the basics of traffic control or want to practice your technical skills, this guide will walk you through the entire process.
Designing the Traffic Light Layout
Component Selection and Placement
Selecting the appropriate components forms the foundation of your traffic light system. Commonly, you’ll need LEDs to represent the red, yellow, and green lights, resistors to control current, and a microcontroller for timing and sequence. Once selected, arranging these components on a breadboard or circuit board is crucial. Placement should mimic the standard vertical or horizontal alignment found in actual street intersections to maintain realism. Thoughtful component placement not only enhances the aesthetic appeal but also ensures reliable operation and ease of troubleshooting.

Building the Electrical Circuit
Setting Up the LEDs and Connections
The heart of the lighting system is the proper setup of LEDs—each representing a different traffic signal color. Start by securely placing the red, yellow, and green LEDs in the designated areas according to your layout plan. Connect the longer lead (anode) of each LED to the power source and the shorter lead (cathode) to the ground through a resistor. Careful handling during this stage prevents damage and ensures consistent brightness, which is crucial for achieving clear signal indications.
Assembling the Breadboard or PCB
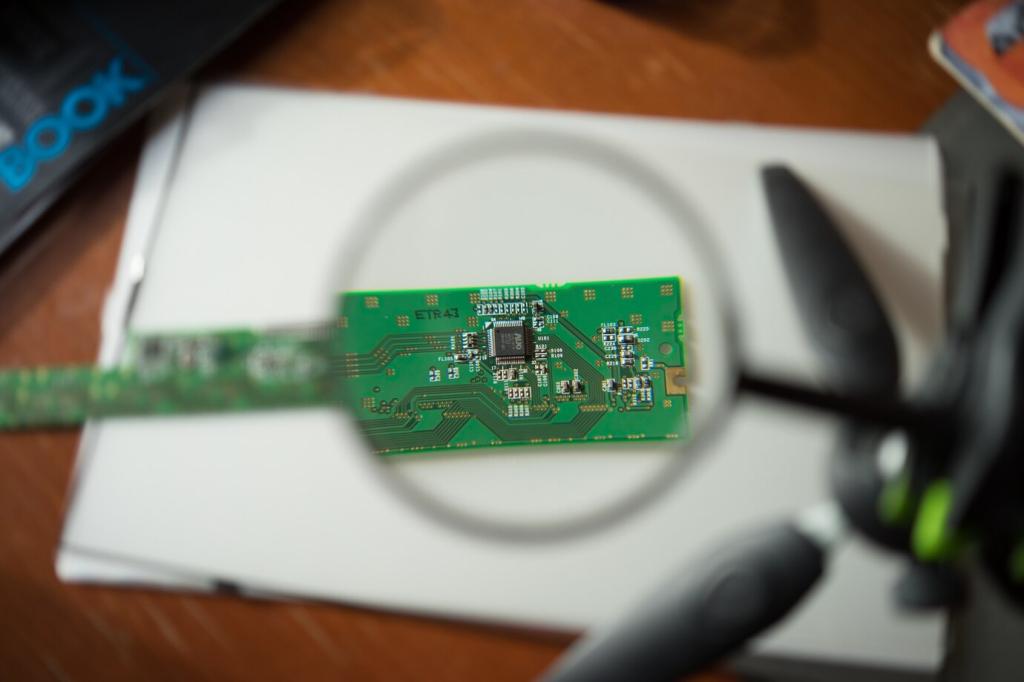
After preparing the LEDs, begin assembling the complete circuit on a breadboard or printed circuit board (PCB). A breadboard offers flexibility for quick adjustments and is ideal for prototyping, while a PCB provides a permanent and neat solution for display or repeated use. Arrange wires and components to avoid confusion or cross-connection, and double-check that each resistor is correctly aligned to prevent overcurrent to the LEDs. Solid circuit assembly at this stage results in a reliable and durable traffic light system.
Integrating the Power Supply and Safety Measures
Your circuit requires a stable power supply, typically from batteries or a USB adapter, to function properly. Select a voltage source suitable for your components—commonly 5V for microcontroller-based systems. Incorporate on/off switches and possibly fuses to safeguard the system against accidental short circuits or overloads. Safety measures not only protect the electronics but also offer invaluable lessons in building secure, lasting projects.
Choosing a Microcontroller Platform
The choice of microcontroller significantly influences your project’s capabilities and ease of development. Popular platforms like Arduino offer beginner-friendly programming, widespread community support, and ample sample code for traffic light systems. Alternatively, more advanced platforms like Raspberry Pi may allow for Wi-Fi connectivity, remote control, and complex sensor integration. Selecting an appropriate platform ensures a smooth development process and future scalability for additional features.
Writing Light Sequence Code
Programming the sequence is a critical element of your traffic light system. The code defines how long each LED remains illuminated, the switching logic, and the entire operational cycle. For instance, you might program the green light to stay on for fifteen seconds, followed by yellow for three seconds, and red for the necessary interval. Using functions or state machines in your code can make the sequence more maintainable and flexible, allowing for easy adjustments to timing and behavior as your needs evolve.
Adding Interactivity with Sensors
Enhancing your mini traffic light system with sensors introduces a dynamic, realistic touch. For example, adding a push-button can simulate a pedestrian crossing request, or light sensors can adjust signal timing based on ambient conditions. Integrating these features into your programming involves reading sensor inputs and modifying light behaviors in response. This hands-on interactivity not only increases engagement but also offers practical exposure to real-world traffic systems where lights respond to actual conditions.
